Server-side tracking, part 1: How to get started with Cloud Run
Learn how to deploy server-side tracking on Google Cloud Run. Compare Stape vs Cloud Run, configure load balancers, choose billing types, and test your setup.
If you are considering server-side tracking, you will face the question of where to actually run it sooner or later. Stape, your own Cloud Run setup, or a completely different path? For some, Stape makes sense. For others, their own Cloud Run setup in Google Cloud Platform is the better option. And that is exactly what we will focus on in this article. We will go through the differences between Stape and Cloud Run and look in detail at everything you need to deploy server-side tracking on Cloud Run. We will focus on the things that are often missing from standard tutorials: how to name your servers, which region to choose, how much does running the server cost, when a load balancer is worth it, and how not to get caught out when choosing the billing type.
There are several ways to deploy server-side GTM. You can run it on your own physical server or in your preferred cloud environment. The two most common approaches are to manually set up sGTM using Cloud Run in Google Cloud Platform (GCP), or to outsource the deployment and operation to another company that handles it for you, such as Stape.
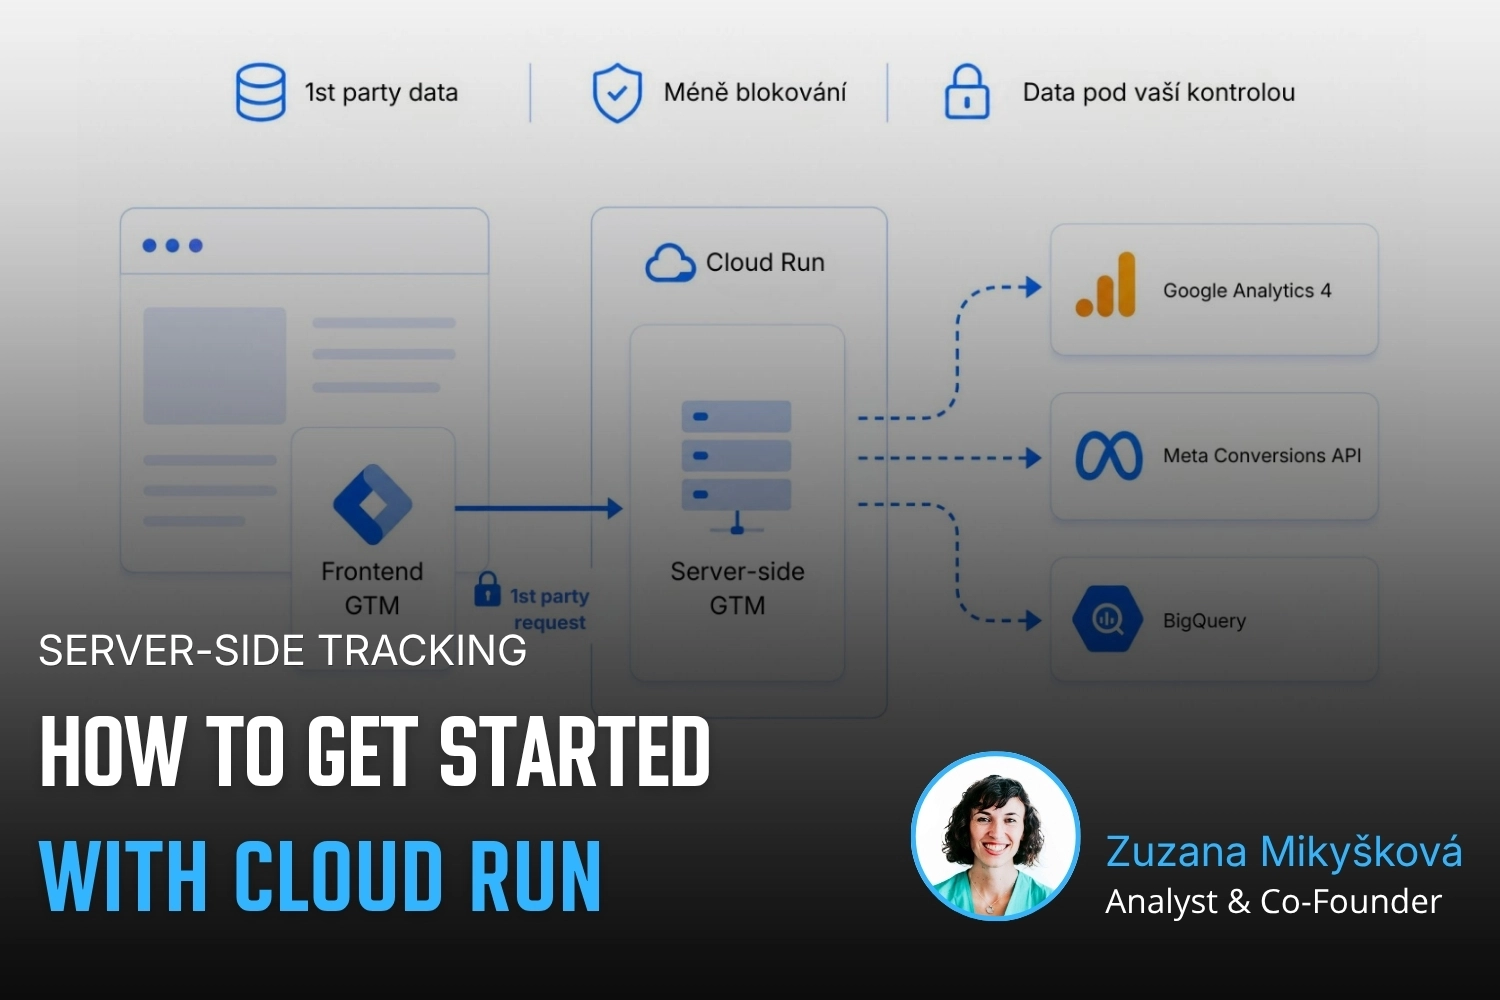
In the context of server-side tracking, “Cloud Run”
is the place where server-side GTM runs. It is available
on your own domain, runs your code when a request comes in,
and stops it when it is no longer needed. No server “running idle”, no fixed capacity.
You only pay for actual usage.
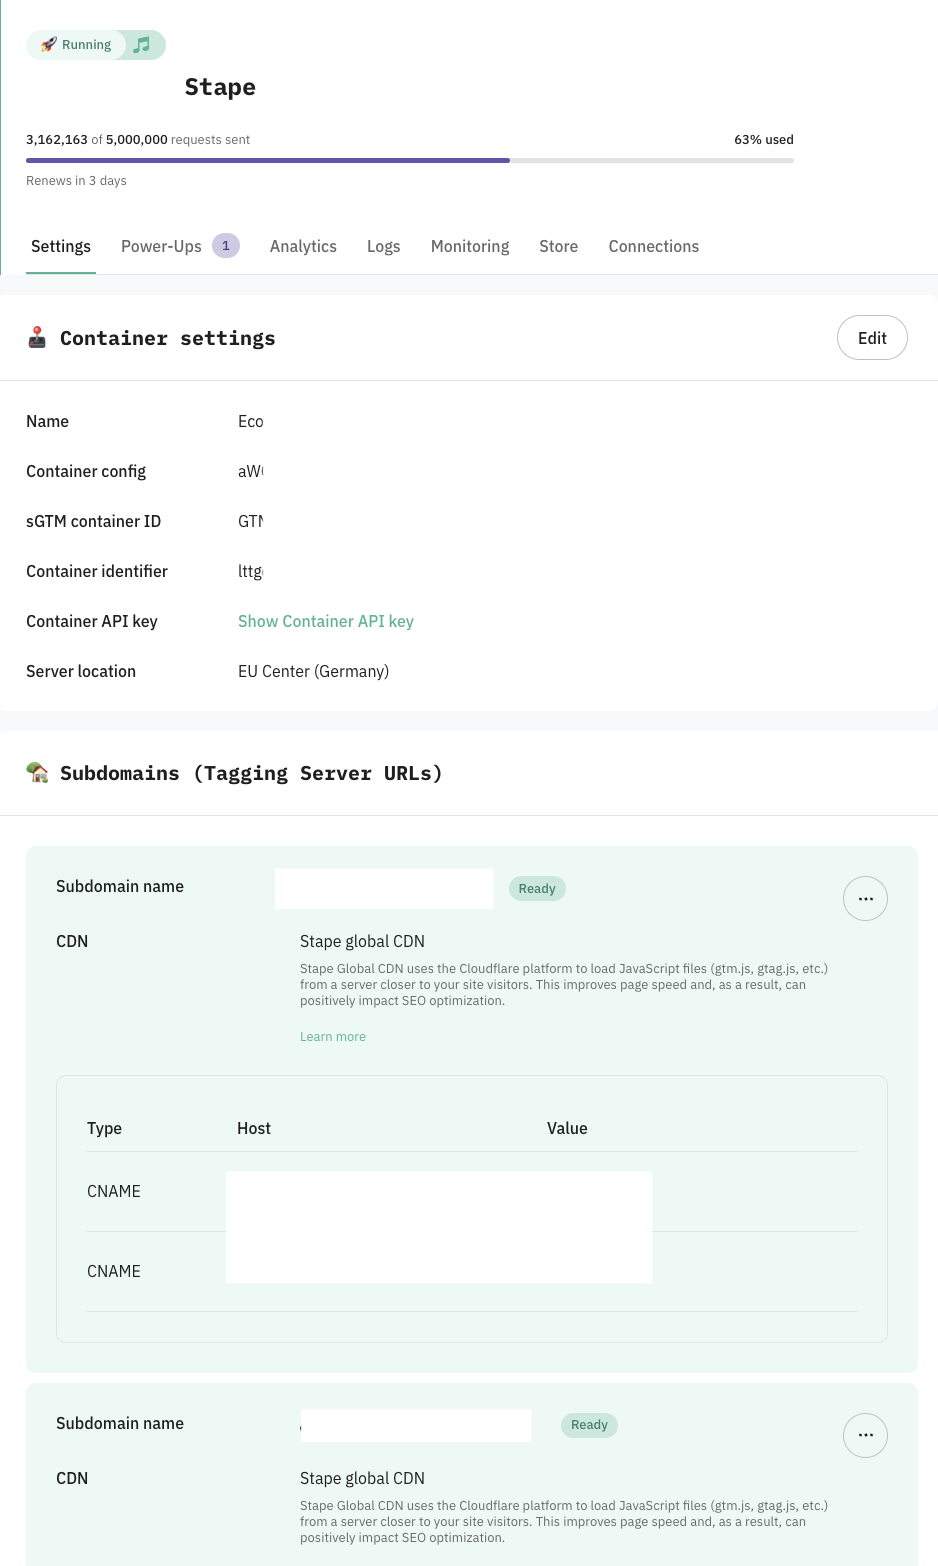
The Stape option
It also runs on Google Cloud infrastructure, but the data does not pass through your GCP project. With very strict corporate security rules, this could be a problem, although Stape has SOC 2 / ISO 27001 certification and is therefore highly trustworthy.
It will be cheaper for websites with up to 500,000 requests per month and one domain.
With Stape, you do not need to understand the technical side too deeply. Setup is just a few clicks.
The price is defined in advance based on event volume.
Stape offers many additional services, but you cannot flexibly customize the service yourself.
Your own Cloud Run option
Everything runs under your company. Where the data goes depends entirely on you, which means a high level of security and better compliance.
For standard-sized websites, or when you have multiple domains, the price is the same or even better thanks to scaling. You only pay for the computing power you actually use.
You configure everything yourself, from security to performance.
You can use other Google Cloud Platform services, for example to enrich data before sending it to advertising systems.
We naturally prefer our own Cloud Run setup, because it reduces dependency on the operation and support of third parties.
What do you need to run a server on your own Cloud Run?
Access to GCP, Google Cloud Platform, connected to a Billing account with a payment card. Other services will then also run within GCP, such as BigQuery, Monitoring, and Cloud Run itself.
Admin rights in Google Tag Manager. You need both frontend GTM, the classic web interface, and server-side GTM.
DNS access for setting up a new server subdomain.
How to set it up
Setting up the entire Cloud Run environment is technically more complex. On top of that, an update comes out roughly every year that can change the process. However, you can find detailed guides from sources such as Simo Ahava, especially his course in Simmer, or Analytics Mania. In this article, we will go through the basic steps and focus mainly on practical tips and tricks.
Step 1: Create a server-side GTM container
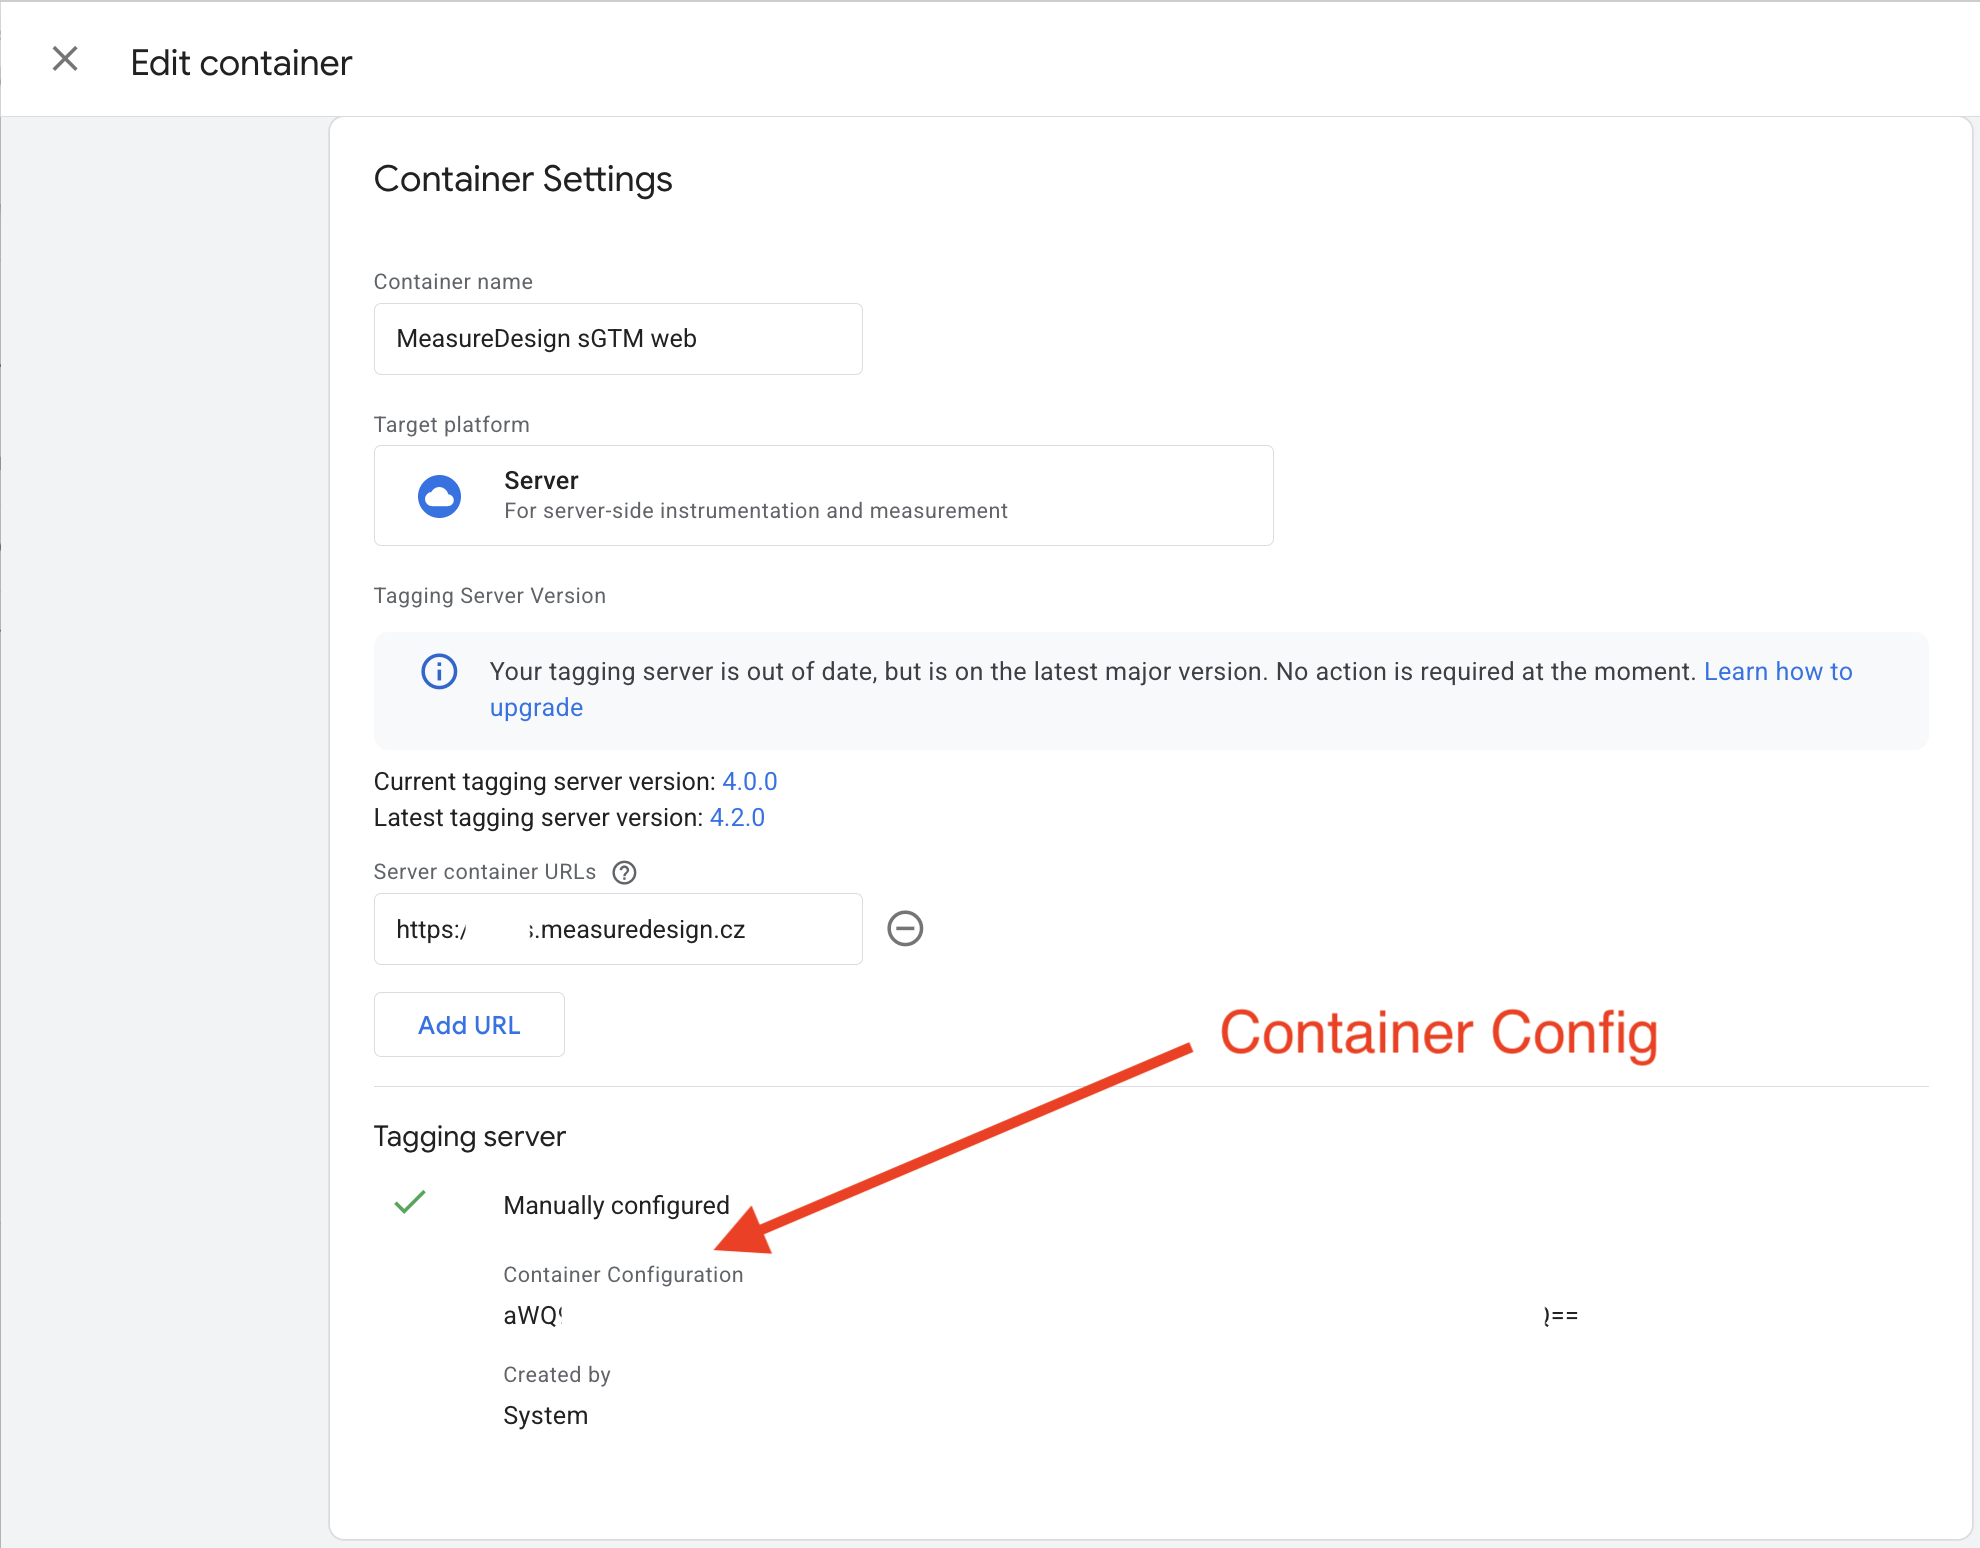
A server-side container is created in GTM in the same way as a web container, but with one important difference: it requires admin rights. When creating it, you will receive a Container Configuration string, which you will need when creating the server in the next step.
server GTM - Administration
One or more server-side GTM containers?
You can have multiple frontend GTM containers and one server-side container. For example, domena.cz and domena.sk each have their own frontend GTM. Because their traffic is low and the differences between the websites are not significant, both domains can be mapped to one server running a single server-side GTM container.
Make this decision mainly based on how the work is organized. If each country has separate teams, separate budgets, or major differences in media activities, choose two servers and two sGTM containers. But keep in mind that you will pay double the operating costs just for running two servers.
Step 2: Create two servers in Cloud Run
Server-side GTM needs two separate servers: preview and production.
The preview server is used exclusively for debugging. It is configured with minimal capacity, typically 0 to 1 instance.
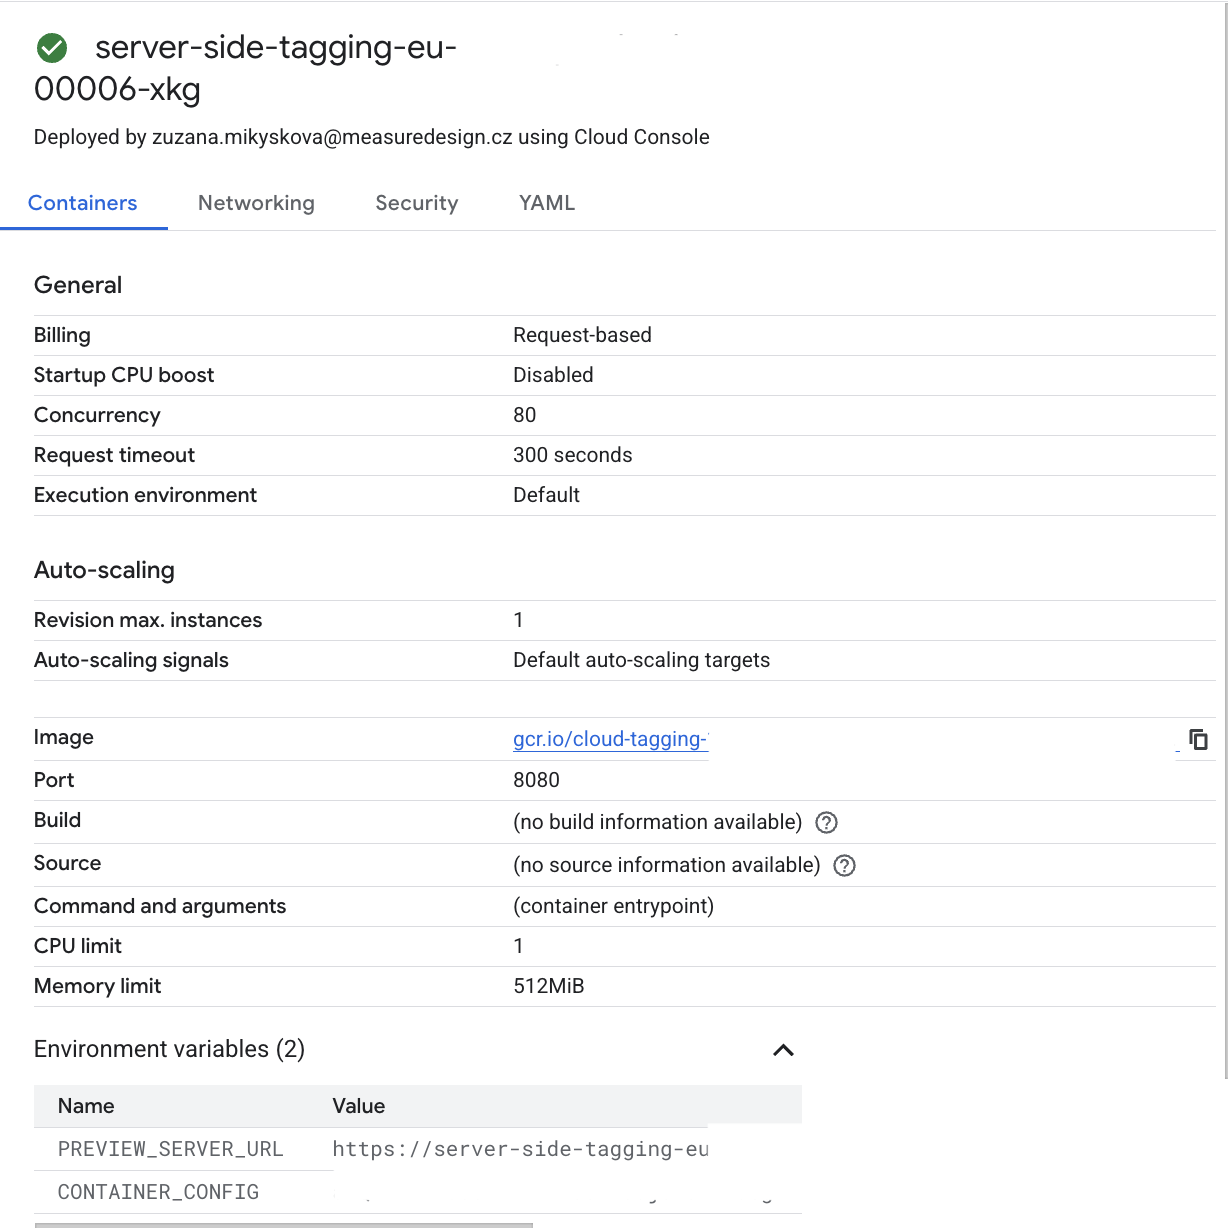
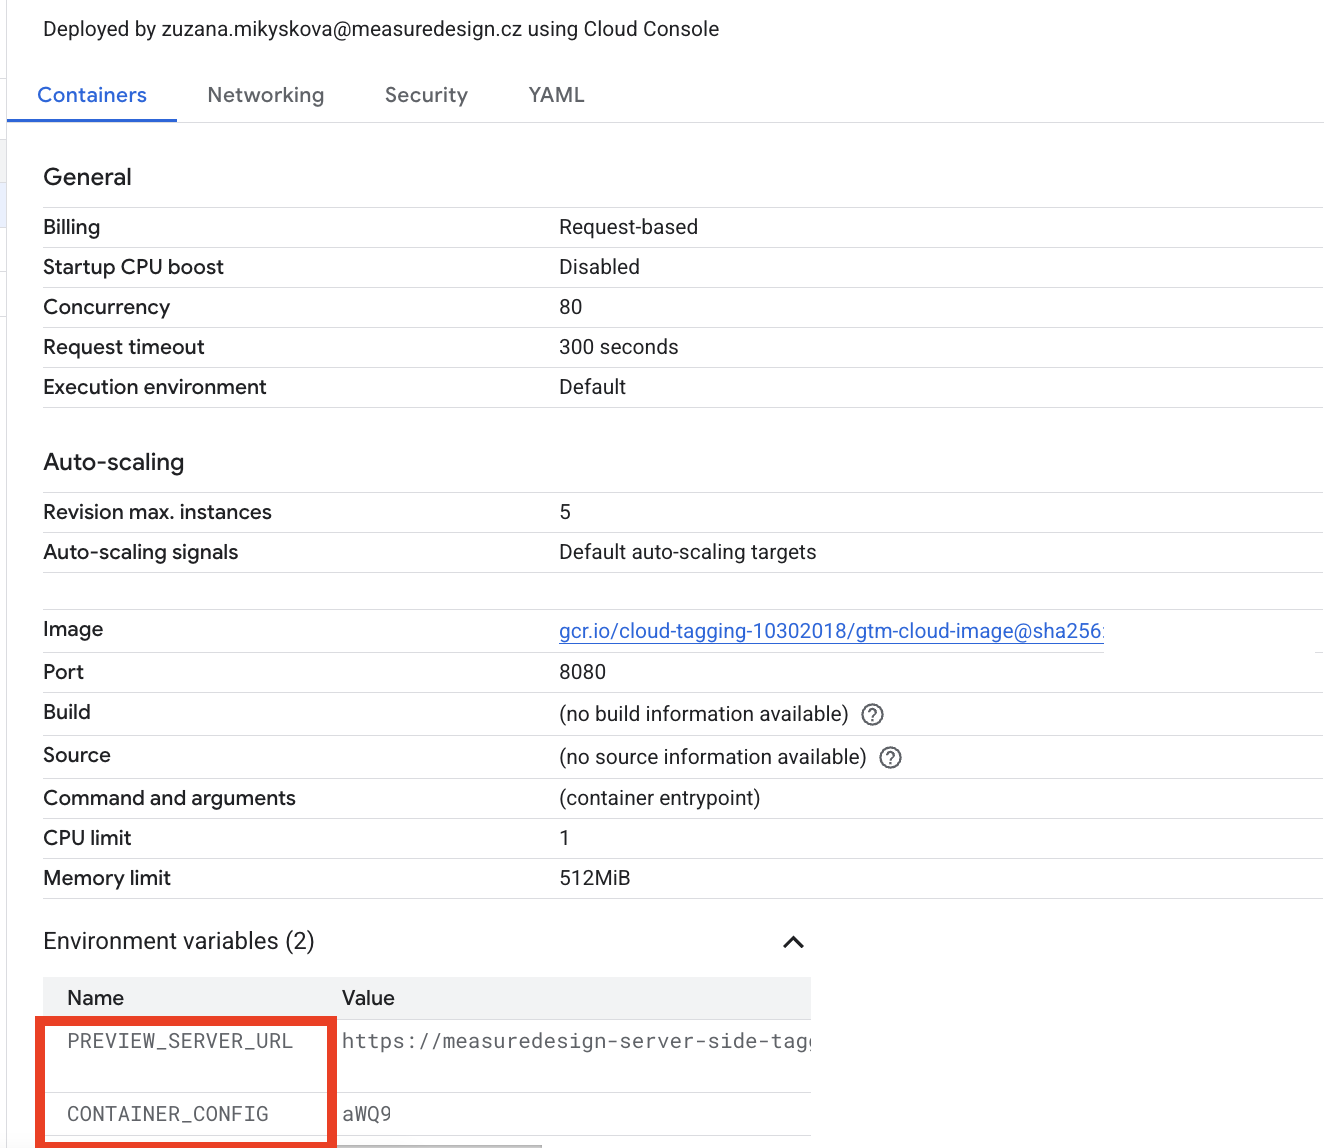
The production server is the one that actually processes data. It is configured with higher autoscaling, typically 1 to 10 instances, and has the environment variable PREVIEW_SERVER_URL pointing to the preview server.
Both servers are connected to the server-side GTM container using the Container Config.
Cloud Run - production server
Explanations and tips:
When setting everything up, you will come across terms that may not be immediately obvious. Here are a few of them.
Server name - Use the project or client name, distinguish between preview and production, and, if relevant, include the region where you are renting the server from Google. Other services may also run in Cloud Run, so clear naming will help you keep things organized later. For example: server-side-tagging-europe-west1-project_name-production and server-side-tagging-europe-west1-project_name-preview
Region - If you are collecting data primarily from Czechia, you should choose a region offering server infrastructure as close to us as possible, such as europe-west3, Frankfurt, or europe-central2, Warsaw. For compliance with data protection regulations, the location should be in Europe. To minimize data transport costs, it is also ideal to choose a region as close to Czechia as possible.
Instance - An instance is allocated computing capacity. How many requests one instance can process depends on the available CPU capacity. What you pay for is how many instances run and for how long.
Autoscaling - For most websites, we use 1 to 10 instances, and that is more than enough. A minimum of 1 instance means that one instance is always ready and does not need to start up. If you set the minimum to 0, no instance is ready and the first request has to wait for a cold start. If your traffic fluctuates a lot and you need to react quickly, this is not ideal. If you have higher traffic and need to process more requests quickly, it is a good idea to keep two instances ready, meaning a minimum of 2 instances. However, that also means you always pay for two instances. Autoscaling means the server can start additional instances as needed, up to a maximum of 10 instances. On the other hand, if you were hit by spam traffic, you would not spend more than the cost of running 10 instances. Even that can still be expensive, so it is a good idea to have alerting configured. We will cover this in one of the next parts.
Instance-based vs request-based billing
With request-based billing, you only pay for the time when an instance is actively processing a request. Between requests, the instance “sleeps”. The CPU does nothing and is not billed. You only pay for the memory of allocated instances, and for CPU only during active request processing. With a minimum of 2 instances, two instances are ready and start relatively quickly. However, if traffic arrives that requires more instances, waking them up takes more time than with instance-based billing. This can lead to higher request latency and, in extreme cases, server overload.
With instance-based billing, you pay for allocated instances. They are always ready and can react quickly to requests from the website. If the load is higher and continuous, it is better to keep instances constantly ready using instance-based billing. If traffic fluctuates, it is more cost-effective to pay based on requests.
With instance-based billing, a minimum of 1 instance costs roughly CZK 45 per day. Treat this only as an indicative figure. A minimum of 2 instances costs around CZK 90 per day, which comes to approximately CZK 1,350 to CZK 2,700 per month. In return, you get relative certainty that your website can handle traffic spikes and that requests will be processed reliably. With request-based billing, you can get down to around CZK 300 per month at the minimum level, but during rapid changes in server load, the server may not always keep up.
Debugging - When you debug, the browser sends a request to your production sGTM endpoint. The request contains the X-Gtm-Server-Preview header, and the production server uses this header to recognize that it is a preview request and forwards it to the preview Cloud Run instance. So the production server receives the request, evaluates the header, and forwards it. This means the production server is always at least slightly loaded. You will mainly notice this when you forget to close the debugging window and receive alerts that request latency, meaning the speed at which the server processes requests, has significantly worsened.
Application Load balancer - yes or no?
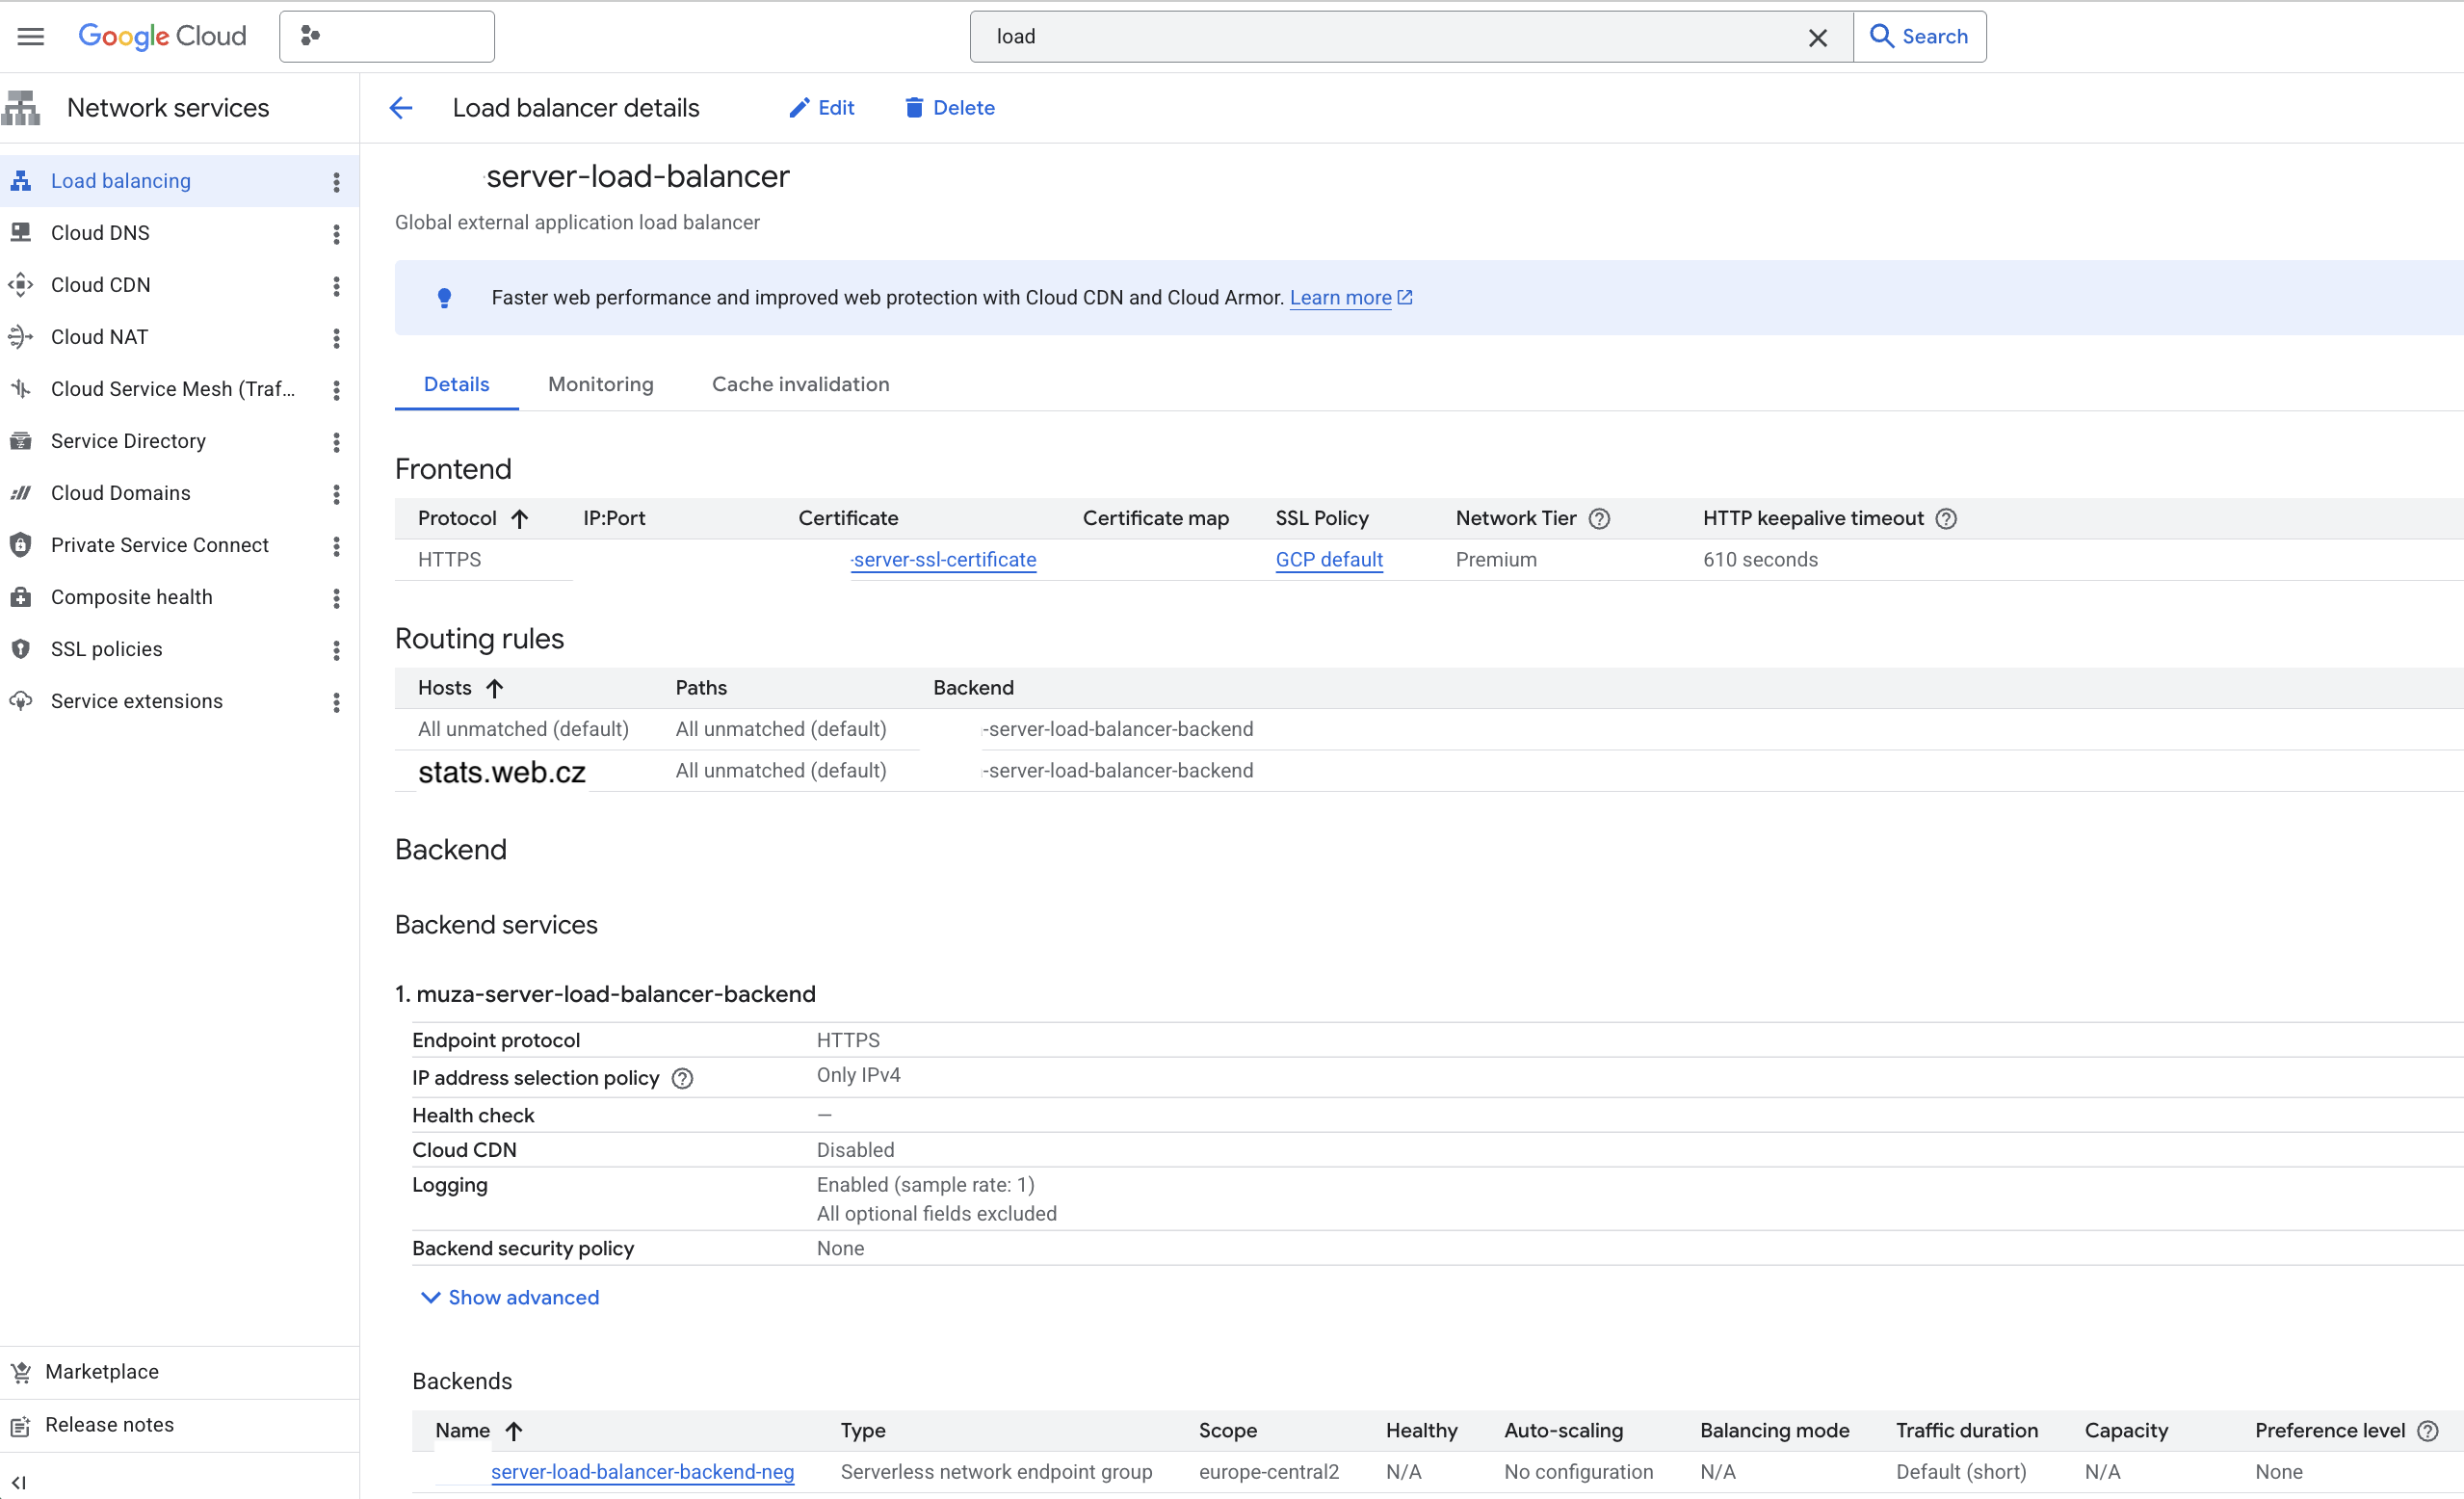
A load balancer is the entry gate to the server. Think of it as a company reception desk. Without it, the company, meaning the server, still works. But when a visitor, meaning a request, arrives, you have no way to pass on information about what company it is, direct the visitor in a specific direction, or decide where to place security in the form of Cloud Armor.
Technically, it is a reverse proxy. It sits in front of the server and receives all incoming traffic. The browser connects to the load balancer, which processes the request and forwards it to the correct server. It is “reverse” because, unlike a traditional proxy that protects the user, this layer protects and controls access to the server.
Setting up a load balancer is technically more complex and costs a few hundred crowns per month extra, but without it you lose many of the benefits that server-side tracking offers.
One of those benefits is that data from the frontend will flow to your own domain, which should ideally be mapped to the load balancer, instead of to the domain automatically generated when creating the production server, something like *.run.app. If you use the generated domain, you lose first-party context, the data becomes an easy target for ad blockers, and browsers such as Safari will shorten cookie lifetime to a maximum of 7 days.
So yes, you can live without it. But in our view, it is definitely better to have it.
Step 3: Create a load balancer and map your own domain to it
The process in brief:
Reserve a static IPv4 address in GCP IP addresses, under VPC Network.
Issue an SSL certificate through Certificate Manager.
Create a Load Balancer in Network services.
Configure the frontend and backend.
Add a routing rule for your own subdomain.
Send the DNS records to the client’s developers: “The A records for the new subdomain need to be updated. Use the IP address above.”
As mentioned earlier, detailed instructions can be found from Simo Ahava, especially his course in Simmer, or from Analytics Mania.
Load balancer
Server subdomain:
Ideally, create a subdomain that does not stand out. So not “tracking.yourdomain.com”, but something like “hub” or a random string. If you have, for example, a client zone that sits on a different domain, you need to create subdomains for both of your own domains. The main goal is to preserve first-party context, meaning data from the website should be sent to the same domain. You can then map both subdomains to one server and connect them through a single server-side GTM container. This saves costs for both operation and setup.
When should you set up Cloud Run?
If you want to launch server-side tracking now, confirm the server subdomain and go through the full process above.
Sometimes, however, you may also be adjusting your tracking setup, working with development on dataLayer pushes, or waiting for other actions, and the live launch of server-side tracking may only happen in a month.
There is a fee of roughly CZK 400 per month for reserving a static IP address and creating the load balancer, regardless of whether your tracking is already running or not. Be careful not to start paying Cloud Run costs too early.
Step 4: Test that everything works correctly
Test 1 - Verify that the domain works and the SSL certificate is active
Google Ads is one of the easiest media sources to connect to BigQuery. This guide covers DTS setup, Standard vs. Custom reports, service accounts, MCC structures, PMax tables, and common limitations.
Setting up a Google Cloud project takes just a few minutes. But basic guides leave out some important details. Here’s what to watch out for with project ownership, the free trial, and billing roles to avoid unnecessary problems later.
This year at MeasureCamp Czechia, MeasureDesign gave three talks. We covered AI analytics on company data, identifying bot traffic, and how to combine working in analytics with raising young kids.
Working on the go has its benefits, but also a few practical challenges. I’m sharing the setup I’ve fine-tuned over the years that lets me work comfortably from anywhere – from connectivity and a second monitor to ergonomics.
What should a PPC specialist know about analytics and data collection? In our workshop for uLab, we covered the entire chain, from the technical components of tracking and media platforms to collecting and activating first-party data.
How do you get data from multiple ad platforms into a single data warehouse, typically BigQuery? We’ll walk through the core architecture and key decisions before you start exporting data from Google Ads, Meta Ads, Sklik, and other platforms.
Part 3 of our first-party data series gets technical again – we'll show you how to check that data is correctly reaching each system and doing what it should. We'll look at outgoing hits in DevTools and at checks directly in the ad platforms.
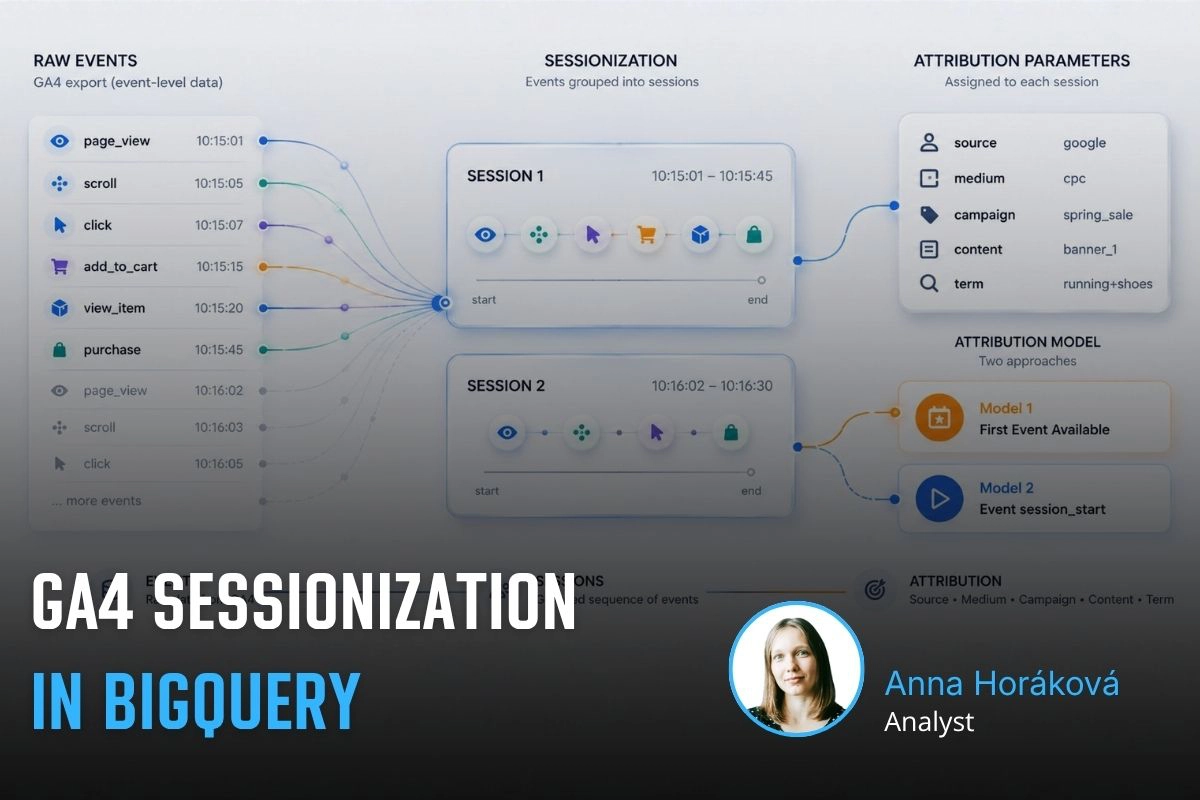
A detailed guide to sessionizing the GA4 BigQuery export — from identifying sessions and reliably ordering events to two attribution models (First Event Available and Session Start), their limitations, and validating agreement between them.
Learn how to deploy server-side tracking on Google Cloud Run. Compare Stape vs Cloud Run, configure load balancers, choose billing types, and test your setup.
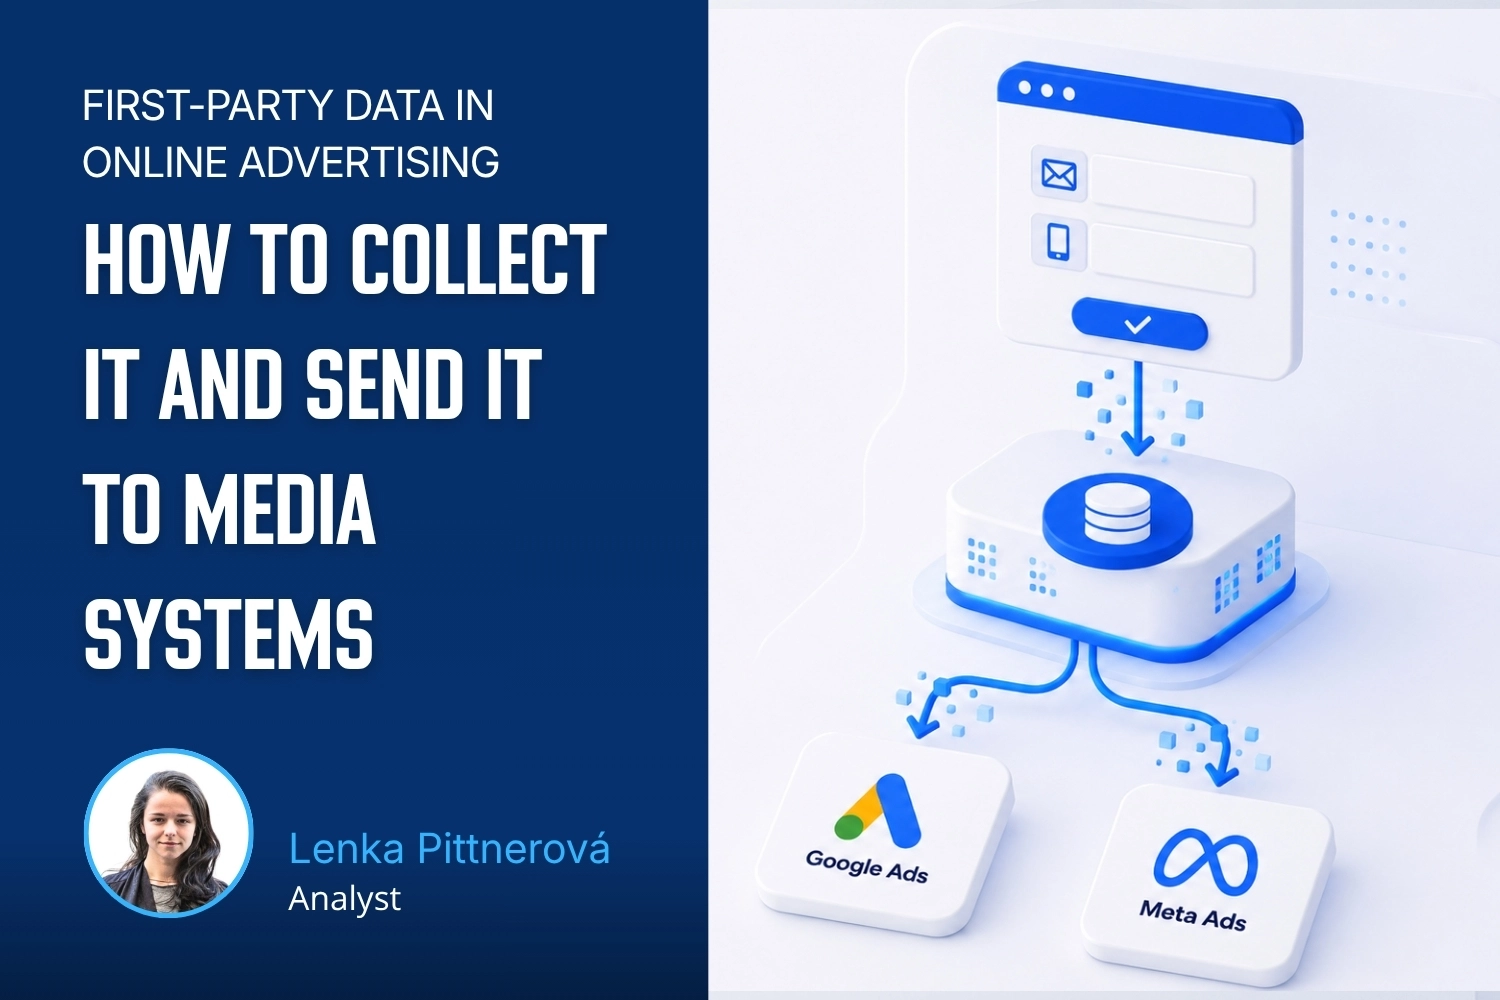
Complete technical guide to collecting first-party data via dataLayer, normalizing, hashing, and sending through server-side GTM to Google Ads and Meta.
Testing ClickUp MCP: hands-on experience with AI-powered automation, security concerns with access tokens, practical limitations, and who should use it.
Learn how first-party data improves campaign performance, measurement accuracy, and cross-device tracking. Discover practical ways to collect and use it.
Workshops on advanced digital analytics: BigQuery, cookieless tracking, consent, attribution, and building data warehouses for reporting and activation.
Why analytics is an excellent career for women, including those returning from maternity leave. A personal story about transitioning into data analytics.
A look back at Reshoper - advising e-shop owners on tracking and measurement, plus a roundtable on marketing automation with insights on self-hosted N8N.
From Idea to App in 48 Hours 🚀 Building AI-powered apps at #HackYourWeekend using Claude Code, tracking with BigQuery, and lessons from team development.
Recap of PPC Camp: my presentation on legally measuring data without user consent - cookieless tracking, sGTM, BigQuery, Facebook conversions, and Advanced Consent Mode risks.
Ready-to-use BigQuery SQL script to calculate Easter dates (2024-2100) using Computus algorithm. Perfect for filtering GA4 data and analyzing seasonal trends.
GA4 + BigQuery in practice: connecting analytics, CRM & media data, real-world use cases from IKEA, Shoptet, McDonald's & Česká spořitelna, and what it unlocks for marketing.
Vašek and Anička presented at MeasureCamp Prague on using Google Ads export in BigQuery, combining it with GA4 and CRM data to solve attribution issues.
Learn how to extend GA4 data retention from 2 to 14 months. Understand what retention affects, how to change settings, and what happens after data expires.
Public webinar on evaluating campaigns using GA4 dataset in Google BigQuery. Featuring Vašek Ráš and Honza Tichý on DBT, SQL queries, and data flattening.
Jana focuses on UX, content and website development at MeasureDesign, making websites clearer and easier to use. She also designs and builds sites for her own clients and values teamwork and finding solutions together.
Vojtěch Černý
IT & Data Developer
Vojta works at MeasureDesign on developing technical and data solutions that are not only functional, but also practical and easy to use. He enjoys combining web development, automation, and data work to create solutions that make sense both from the user’s perspective and in terms of the technical foundations behind them. What he finds most rewarding is turning a more complex problem into a clean and reliable solution.
Jiří Otipka
Analyst
Jirka has been working in marketing for over 10 years, and if there is anything he enjoys more than numbers themselves, it is connecting them. He loves mathematics and data analytics, and thanks to his interest in exploring source code, he can easily communicate with developers in their own language. At MeasureDesign, he specializes in connecting new data sources - building custom connectors in Python, testing data quality, and exploring which data combinations make the most sense from a business perspective. He is completely at home in Looker Studio and also has extensive experience evaluating PPC campaign performance.
Lenka Pittnerová
Analyst
Lenka joined MeasureDesign at the end of 2025, bringing extensive experience from PPC marketing, where she spent many years working with Google Ads, Meta Ads, and other advertising platforms. While managing campaigns, she repeatedly ran into the same issue - poorly set up or insufficient web analytics, which made effective optimization nearly impossible. This challenge initially led her to analytics out of necessity, but over time she discovered that she enjoyed it even more than advertising itself. Today, she focuses primarily on implementing web analytics and data solutions that provide companies with high-quality, reliable data for strategic decision-making and performance marketing. She continues to work on selected PPC projects as well - not only because she still enjoys them, but mainly to stay closely connected to the reality of media platforms and the real needs of clients.
Martina Kvasničková
AI & Data Research
Marťa helps integrate AI into everyday work—making it faster, more efficient, and accessible to every team member. What excites her most is finding practical ways to use AI and turning new technologies into useful tools.
Anna Horáková
Analyst
Anička has over 7 years of experience in the agency world, where she has managed social media ad campaigns for clients, and especially for content-driven websites, her favorite. Wanting to broaden her perspective beyond campaign data, she gradually shifted her focus toward web analytics. She joined our team in 2022 and now specializes in data analytics, using GA4, BigQuery, Looker Studio, and other tools to connect and dig deeper into data — delivering insightful analyses and valuable input for business decisions. Anička was a member of our team until 2026.
Zuzana Mikyšková
Analyst & Co-Founder
Zuzka's career path led her through corporate innovation and research management, running word-of-mouth projects, and later to a digital agency, where she managed website development projects. However, Zuzka is naturally curious and wanted to understand how a website actually works once it is launched into the world. That curiosity led her to study web analytics — and eventually to a key collaboration with Vašek. In 2019, they founded the company together.
Vašek Jelen
Lead Analyst & Co-Founder
Vašek has been working in digital analytics for over 15 years — from setting up tracking to data storage, visualization, and interpretation. He helps companies keep their data in order and make full use of it. He focuses primarily on data from digital platforms such as websites, apps, and client zones, and on connecting that data with other business data like media and customer data. After years of freelancing, he co-founded the analytics studio MeasureDesign, where, in addition to working on analytics projects and bespoke training sessions, he also mentors and educates new analysts.
Blanka Hejduková
Back Office
Blanka joined our team in 2024 and has been responsible for back-office operations, including invoicing and administrative tasks, ever since. She draws on her experience from the Czech Post and her background in financial management to keep everything running smoothly. In her free time, she enjoys traveling with her two children and finds relaxation in working in her garden.
Markéta Svěráková
Analyst
Markéta started out in marketing, but then came maternity leave — and with it, total chaos. In an effort to hold on to the last bits of sanity, she turned to data. After all, numbers don’t yell, spill cereal into your keyboard, and at least they make some sense. She completed a data analytics course at Engeto Academy, where she bonded with SQL, Power BI, Excel, and Python, and started looking for patterns outside the bounds of children’s coloring books. Today, at MeasureDesign, she helps clients understand what their numbers are really saying.
Petra Súkeníková
Analyst
She joined MeasureDesign in 2023, specialising in measurement implementation and reporting. Her favourite moment is when, after all the setup and testing, the first data finally starts flowing in. Her biggest challenge? The unexpected (and often undocumented) changes from Google – those are the times when every analyst turns into a paranormal behaviour expert. 👻 She was a member of our team until summer 2026.
Klára Belzová
Analyst
Klára has been with the company since 2019. She focuses mainly on web analytics but is not afraid to dive into data work in BigQuery. What she enjoys most is guiding clients through the entire process — from defining their needs to implementing tracking and creating the final data visualizations.
She gets an almost suspicious amount of joy from a clean and well-organized GTM container or a report full of useful data.